Monday, April 18, 2011

MTAL #3

The third in my series.

Spanish- Style Stuffed Peppers
from Rachael Ray

3 Tbsp olive oil
1 cup long-grain white rice
1 3/4 cups chicken stock
1 fresh or dried bay leaf
4 large red bell peppers
1 1/3 lb ground chicken
salt and black pepper
1 Tbsp sweet paprika
1 medium onion, finely chopped
3 garlic cloves, grated or finely chopped
2 jarred roasted red peppers, chopped
1/2 cup dry sherry
1 (15-oz) can tomato sauce

  1. Preheat the oven to 375 degrees.
  2. Heat 1 Tbsp of olive oil in a saucepot with a lid over medium heat. Add the rice, stir to coat with the oil andd toast for 2 minutes. Add the stock and bay leaf and bring to a boil. cover the pot, reduce the heat to low, and cook the rice for 16 minutes. The rice will be a bit tough at the center but it will continue to cook when it's baked in the pepper.
  3. Cut the top off each bell pepper and reserve as a lid. Trim the bottoms of the peppers so they stand upright, taking care no to make holes in the bottoms of the peppers to prevent leaks. Seed the peppers and set aside.
  4. Heat a large nonstick skillet over medium-high heat and add the remaining 2 Tbsp of olive oil. Add the meat and season with salt, pepper, and paprika. Cook until lightly browned, about 5 minutes, breaking it up into small bits with a back of a wooden spoon as it cooks. Add the onions, garlic, and roasted peppers. Continue to cook until the onions start to get tender, 5 to 6 minutes. Add the sherry and deglaze the pan, stirring to get any brown bits off the bottom of the skillet. Add 1 1/2 cups tomato sauce, about 3/4 of the can, and reduce the heat to low. Stir until heated through, then add the cooked rice to the skillet. Discard the bay leaf. Stir to combine, then turn off the heat.
  5. Thin the remaining tomato sauce with 1/2 cup water and pour it into an 8-inch square baking dish. Set the peppers upright in the baking dish. Fill each pepper set the caps in place. Bake the peppers, uncovered, for 25 to 30 minutes. Serve 1 pepper per person.

This was my first time roasting rice. I didn't have long-grained rice around so I just used the minute rice I had and adjusted the cook time. It seemed to work about as well.

The meat and vegetable mixture. The roasted bell peppers could easily be made at home but I went ahead and bought a jar. They are dreamy. Seriously, slap one of those on a sandwich and stick in the oven and you have my happy place.
The meat mixture with sauce. Yummy smelling sauce. At this point, I set aside some meat for Asher because I don't think he would appreciate the pepper.
Peppers fresh out of the oven. Aren't they pretty? This is the first time I've seen the top used and it's so pretty that I'll do it again. (And besides being pretty, the tops are great for dipping in the sauce and eating with your hands.
The final product: moan-worthy. Seriously, this is the first meal in a long time that I couldn't help making all sorts of yummy noises through. I absolutely loved it. Asher liked it too. It would be great with some melted cheese throughout (monterrey jack or the like) but not as Asher-friendly. Please try these...please. You won't regret it.

Monday, April 11, 2011

Food Experiment

What do you do when you have burgers while not eating wheat, egg, milk, etc? You start experimenting. I could have gone the civilized route and just eaten the burger with a fork. I could have gone the healthy way and used lettuce leaves. I could have done a lot of different things but I decided on hashbrowns (mostly because I have an abundance of potatoes). My hashbrown burger.
While incredibly messy, it was actually really good. Someone could build on this concept and make a truly amazing (and unique) burger.

Saturday, April 9, 2011

MTAL #2

Chicken tenders, chicken fingers, chicken strips...whatever you call them, they're good. You can't get more kid-friendly either. They certainly were a staple of my diet when I was kid, especially when we went out to eat. They are normally made with flour, egg, and milk which doesn't make them very Asher-friendly. That means it's time to try an allergen-free version and let Asher be a kid.

Chicken Tenders
from Cybele Pascal
1 lb chicken tenders
1 1/2 cups rice milk
1 Tbsp lemon juice
1 cup cornstarch
3 Tbsp rice milk
6 Tbsp olive oil
1 cup gluten-free bread crumbs
salt and pepper
3 cups canola oil

  1. Combine tenders with 1 1/2 cups rice milkd and lemon juice and refrigerate for 2 hours.

  2. Put cornstarch in a wide dish. Put 3 Tbsp rice milk in another wide dish. Add olive oil, 1 Tbsp at a time, whisking well. Put breadcrumbs in a third dish and mix in salt and pepper.

  3. Roll each tender in cornstarch, then rice milk and finally bread crumbs. Set aside.

  4. Heat oil until rippling over medium-high heat.

  5. Cook tenders until deeply golden, about 3 minutes a side and 6-7 minutes total.
Here is my assembly line of chicken tenders. Ms. Pascal recommends using one hand for the dry ingredient dipping and the other for the wet. It seems to help make this process less of a mess that it could be. Coated tenders ready for the frying oil.
Frying the tenders (in my new saucepan; isn't it pretty?).
I served this with a oven fries (cut up russet potatoes toss with olive oil and seasoned salt and bakes for 40 minutes) and allergen-free ranch dressing. The dressing didn't go quite as I hoped: I put too much garlic and onion in it so it was INTENSE. I might try again another day and post the recipe if it goes better then.
The final product: awesome! They are crunchy and delicious. Asher absolutely loved them which makes me one giddy momma. They were even a hit with Tyler and Addilyn. I will make these often (I even made them as Asher's birthday meal).

A note on the gluten-free bread crumbs: Glutino brand is recommended but if those cannot be found, I think coarse-ground corn meal might make a good substitution.

Thursday, April 7, 2011

Meals that Asher Likes

This is the first in my series called Meals That Asher Likes. As you may have guessed, they are meals that are allergen-free that Asher actually likes (because they are unfortunately plenty that I try that he doesn't like). This distinction is mostly for the grandmas but might be interesting for everyone else (especially since some of them are just plain good anyway).

Maple-Glazed Pork Chops
from Rachael Ray

4 boneless pork chops
salt and black pepper
2 Tbsp olive oil
1 cup chicken stock (check label for dairy)
6 fresh thyme sprigs
1/4 cup maple syrup (use 100% pure maple syrup, as imitation has caramel color in it)
zest and juice of 1 lemon


  1. Season the pork chops with salt and pepper. Preheat a large skillet over medium-high to high heat with olive oil. When the oil begins to ripple, add the pork chops and sear for 2 minutes on each side, then turn heat down to medium and cook for 5 to 6 minutes.

  2. Transfer chops to a plate and cover loosely with foil to keep warm. Add chicken stock, thyme, maple syrup, 2 tsp of the lemon zest, and the lemon juice to the skillet. Bring up to a bubble and simmer until lightly thickened, a couple of minutes.

  3. Return pork chops to the pan with the glaze and flip around to coat them well. Place chops on dinner plates and drizzle with any remaining glaze from the skillet.

Serves 4.


I don't have any process shots but here's the finished product. It's quite delicious. Maple and pork just go so well together. Honestly, Asher would prefer the pork chop plain but the glaze makes it extra yummy for everyone else too. A few points on this recipe:


  1. I always use dried thyme because that's what I have around. I just eyeball it.

  2. The glaze takes a lot longer than a couple of minutes to thicken up. It's more like 10-15 minutes to get it to the right consistency.

  3. I serve this with mashed potatoes (mashed with chicken stock and green onions instead of milk and butter).

Enjoy!

Friday, March 25, 2011

Birthday Dinner

For my birthday I got to make whatever I wanted. I chose to try a couple of Asian recipes.

Egg Drop Soup
From tasty kitchen

2 cups chicken broth
1 Tbsp corn starch
1 whole egg, beaten slightly
1 dash black pepper
1 dash soy sauce (or more to taste)
  1. Bring the broth to a boil. In a small cup, combine the cornstarch with 3 Tbsp of the heated broth and whish to combine. Whisk cornstarch mixture into the broth and boil for a minute or two to thicken the broth. Turn off the heat. Pour in the egg in a thin stream while stiring slowly in one direction. Do not over stir or the egg will break into tiny bits instead of making ribbons. Allow to sit for a couple of minutes before ladling into soup bowls. Season with soy sauce and black pepper to taste. You can also add thinly sliced green onions for garnish.
Makes 2 servings.

Boiling broth.

The finished product: simple and good. This is super fast and quite yummy. It might become one of my go-to meals when I need something fast.

Lettuce Wraps

2 Tbsp oil
1 whole onion, medium
2 whole garlic cloves, minced
1 can (8 oz) sliced water chestnuts, drained and chopped
1 lb ground turkey
1/4 cup soy sauce
1/4 cup ketchup
4 tsp rice vinegar
4 tsp sesame oil
2 tsp red pepper flakes
2 Tbsp brown sugar
1 head Iceberg lettuce, quartered at the core, core removed, leaved separated and torn into approximately 4-inch cups
1/4 cup sliced green onions
1/4 cup chopped peanuts
  1. Heat oil in a large skillet over medium-high heat. Add onions, garlic and water chestnuts; saute until onions soften, 3 to 4 minutes. Add turkey; continue to cook, stirring frequently, until meat loses its raw color and most of the liquid has evaporated, about 5 minutes.
  2. Meanwhile, mix soy sauce, ketchup, vinegar, oil, pepper flakes, and sugar. Add to the turkey; continue to cook until mixture has thickened to the texture of thick sloppy joes.
  3. When ready to serve, warm turkey mixture. Lay out lettuce cups on a serving tray. Fill each with 2 Tbsp of filling, then garnish with scallions and peanuts. Serve.

Makes 24 servings.

The turkey and vegetables sauteing. I forgot to cut up the water chestnuts before adding them to the mix. Oops! It wasn't a disaster but did result in some tedious work and lost time.

Sauce mixture.
Cooking down.
Cooked down. It's smells pretty good.
The finished product: solidly good. These aren't P.F. Chang's lettuce wraps so if that's what you're expecting, you'll be disappointed. These are still very good, though. They are tangy and slightly spicy. I'd recommend them.

Thursday, March 17, 2011

Birthday Cake

A couple of weeks ago was my birthday. I made my own cake...because I wanted to. I chose chocolate and peanut butter as my inspiration and a giant cupcake pan as my mold. Woohoo!!

Chocolate Cake
From Hershey's

2 cups sugar
1 3/4 cups all-purpose flour
3/4 cup cocoa
1 1/2 tsp baking powder
1 1/2 tsp baking soda
1 tsp salt
2 egg
1 cup milk
1/2 cup oil
2 tsp vanilla extract
1 cup boiling water
  1. Heat oven to 350 degrees. Grease and flour baking pan(s).
  2. Stir together sugar, flour, cocoa, baking powder, baking soda, and salt in large bowl. Add eggs, milk, oil and vanilla; beat on medium speed of mixer 2 minutes. Stir in water. (Batter will be thin.) Pour batter evenly into prepared pans.
  3. Bake 30 to 35 minutes or wooden pick inserted in center comes out clean. Cool 10 minutes; remove from pans to wire racks. Cool completely.

Cake ingredients ready to be mixed. I chose to use the Hershey's Special Dark Cocoa because I thought a dark chocolate cake would be dreamy (it was a good choice; you should try it).
That's one runny cake batter! It should be moist though, right?
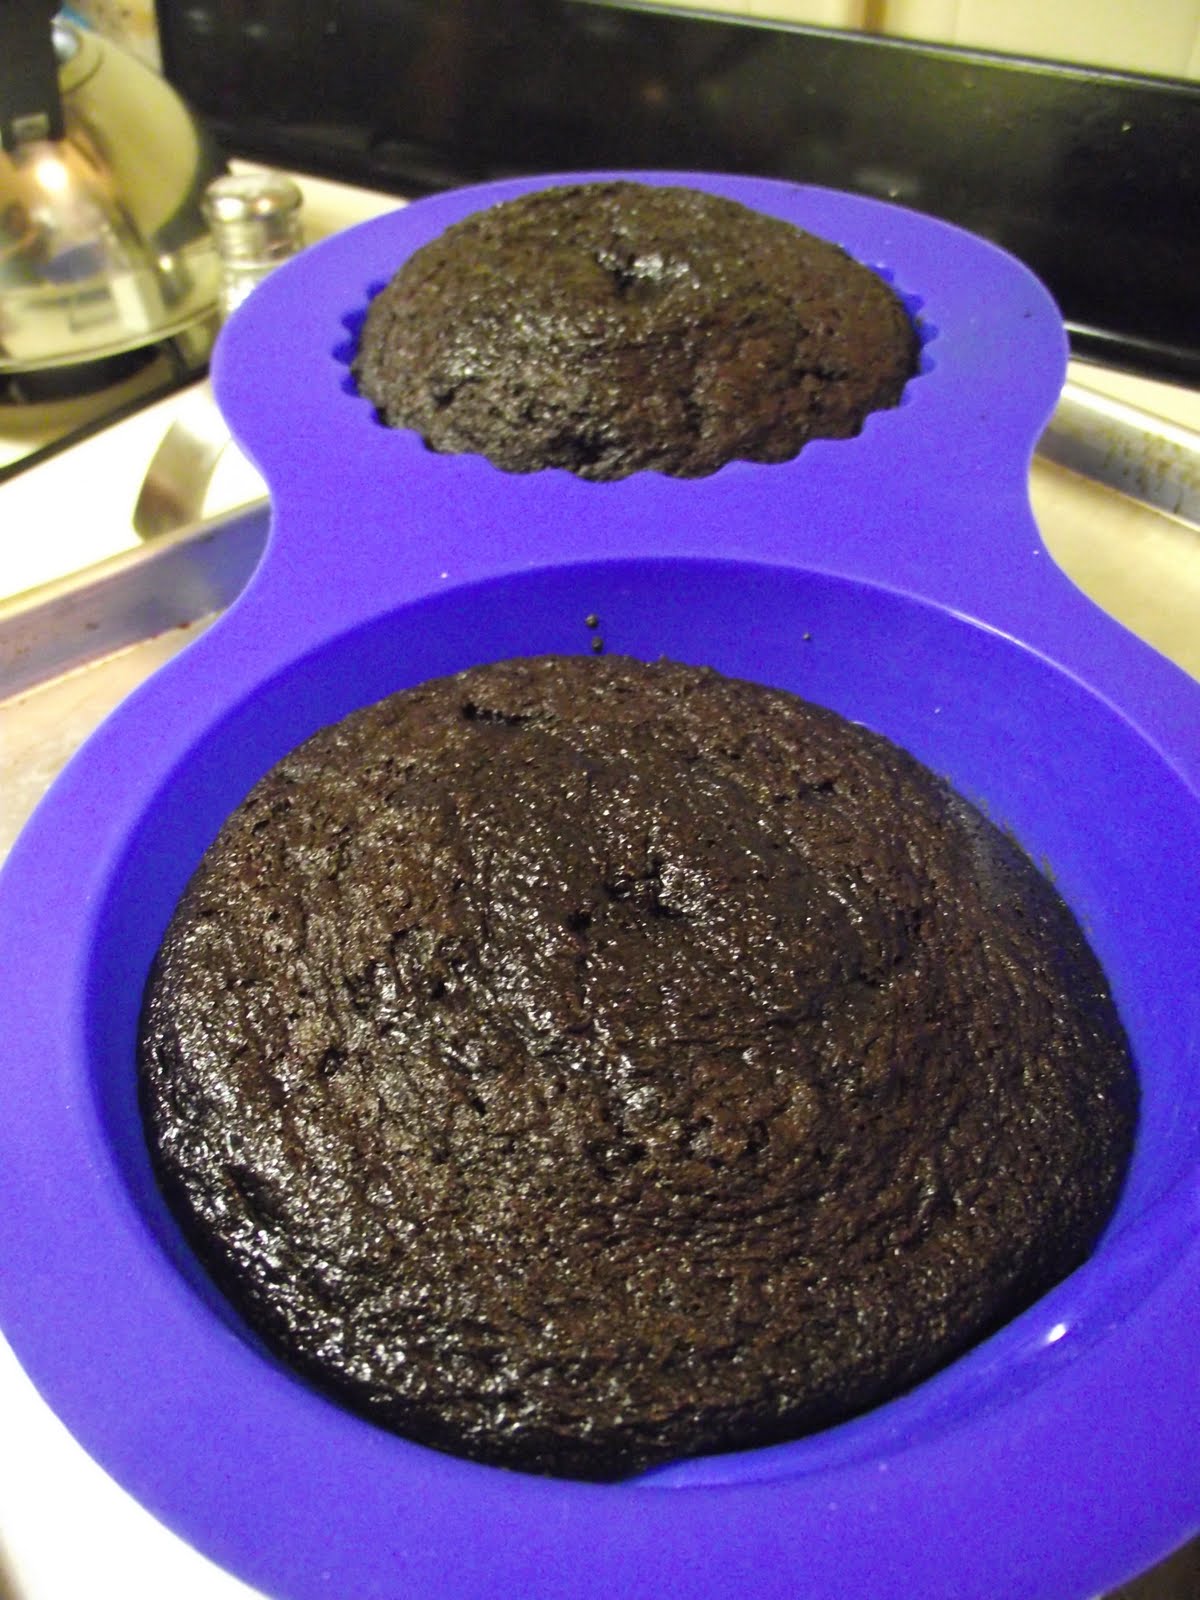
Here is my cake pan. I lost the little sheet that came with it which tells you how to adjust cake recipes to fit this pan (how much to make). I tried to go online to see if I could find such information and ended up just guessing.
I think I underfilled it a little but the final result was just fine.

Peanut Butter Frosting
From here
1 cup powdered sugar
1 cup creamy peanut butter
5 Tbsp unsalted butter, at room temperature
3/4 tsp vanilla extract
1/4 tsp Kosher salt
1/3 cup heavy cream
  1. Combine all ingredients except for cream. Beat with an electric mixer on medium low speed until creamy. Add cream and beat on high speed until smooth.


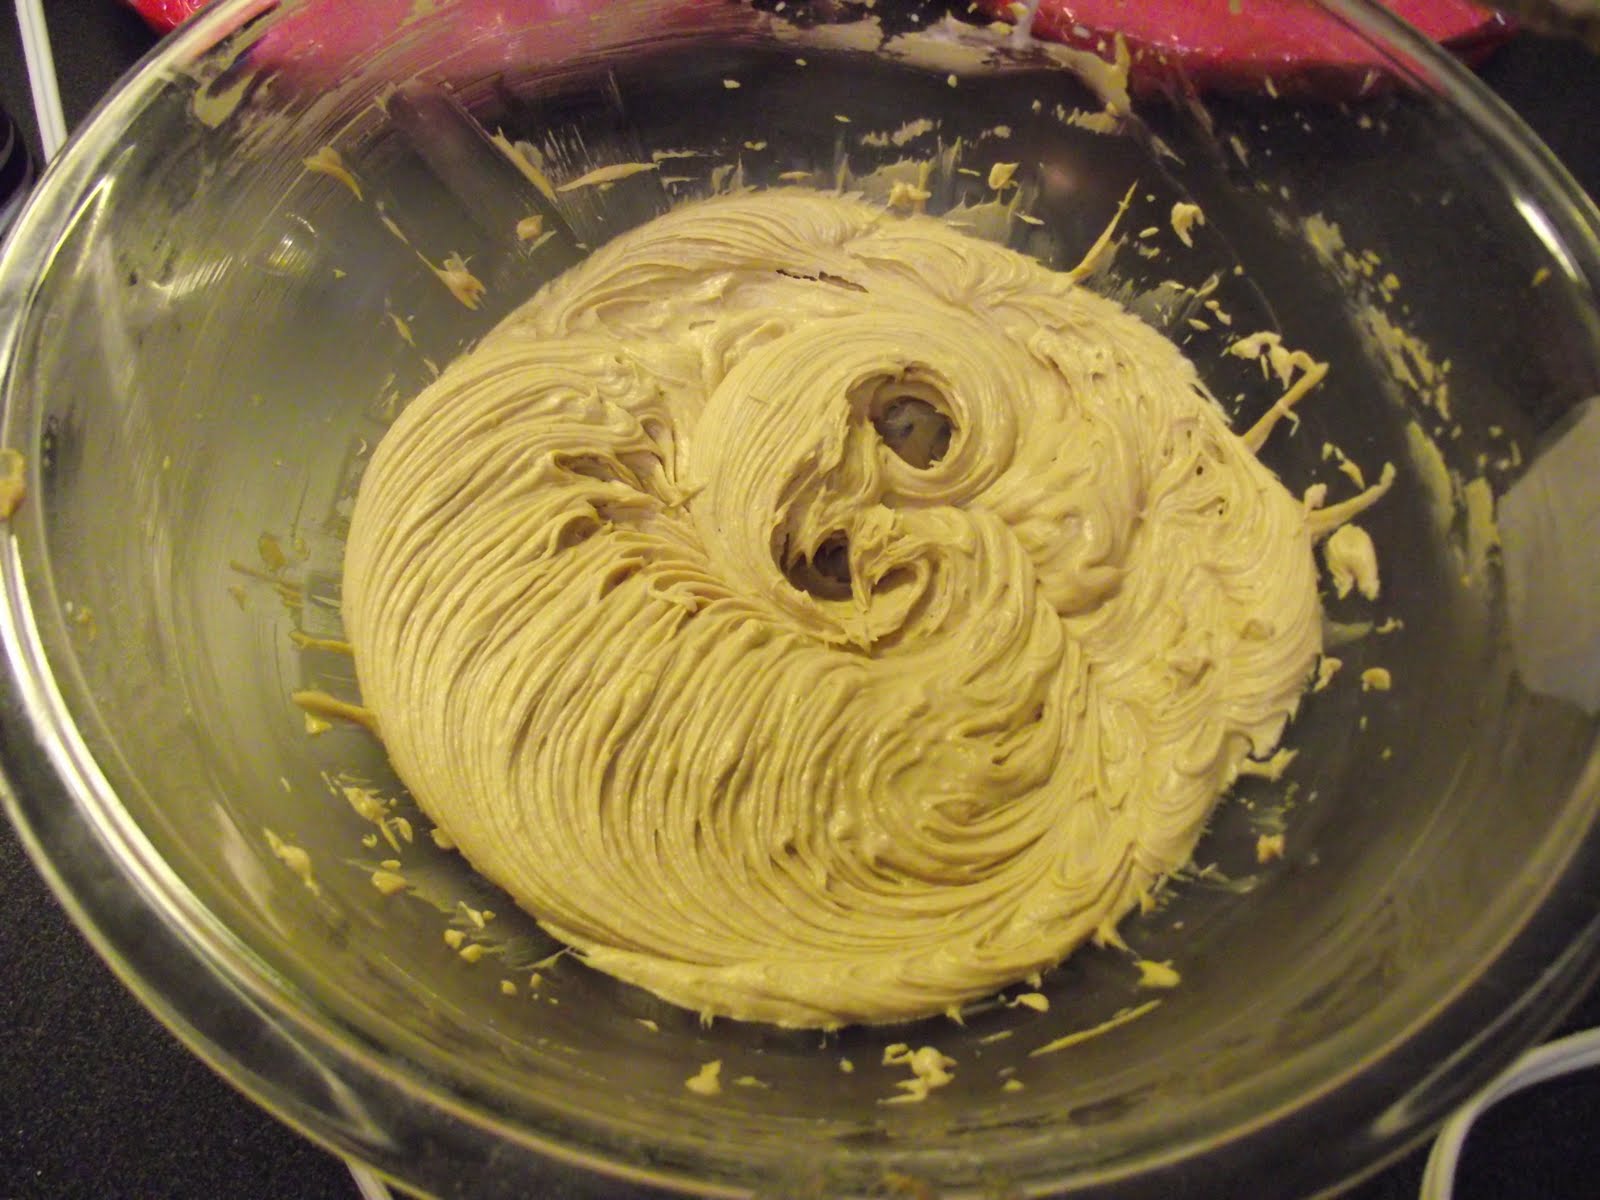
Peanut butter and sugar...this is looking good.
Creamy and dreamy frosting. This is super light and smooth. I could eat it with a spoon.
The two sides of the cupcake all set up.
I got to play with my cake decorating supplies. I haven't really broken them out before so I got ot experiment which was super fun.
The finished product: this was really good. The cake was extremely moist. The flavor of the cake was good but was really a background player to the frosting. This frosting was phenomenal. I'm not really a big frosting eater. It's normally too sweet and dry; a lot of times I will actually eat the cake and skip the frosting. This frosting had awesome texture (light and creamy) and incredible flavor (peanut buttery but not overpowering). It was rich but not so rich that it seemed too much. Seriously, this was the best frosting I've ever tasted in every way.

Tuesday, March 8, 2011

Chocolate Chip Wonderfulness

Chocolate chip cookies...the classic...the standard...the staples of every American's diet (that might be more true than I really would like to look into right now). Chocolate chip cookies are so ubiquitous in our culture that there's really little left that can be done with them...except to make them magical! This recipe claims to produce the "perfect" chocolate chip cookies. Such a statement needed to be investigated.

"Perfect" Chocolate Chip Cookies
from Cooks Illustrated (June 2009)

1 3/4 cups all-purpose flour
1/2 tsp baking soda
14 Tbsp butter (unsalted)
1/2 cup granulated sugar
3/4 cup packed dark brown sugar
1 tsp salt
2 tsp vanilla extract
1 large egg
1 large egg yolk
1 1/4 cup semisweet chocolate chips or chunks
3/4 cup chopped pecans or walnuts, toasted (optional)
  1. Adjust oven rack to middle position and heat oven to to 375 degrees. Line 2 large (18x12-inch) baking sheets with parchment paper. Whisk flour and baking soda together in a medium bowl; set aside.
  2. Heat 10 Tbsp butter in a 10-inch skillet over medium-high heat until melted, about 2 minutes. Continue cooking, swirling pan constantly until butter is dark golden brown and has nutty aroma, 1 to 3 minutes. Remove skillet from heat and, using heatproof spatula, transfer browned butter to large heatproof bowl. Stir remaining 4 Tbsp butter into hot butter until completely melted.
  3. Add both sugars, salt, and vanilla to bowl with butter and whisk until fully incorporated. Add egg and yolk and whisk until mixture is smooth with no sugar lumps remaining, about 30 seconds. Let mixture stand 3 minutes, then whisk for 30 seconds. Repeat process for resting and whisking 2 more times until mixture is thick, smooth, and shiny. Using rubber spatula or wooden spoon, stir in flour mixture until just combined, about 1 minute. Stir in chocolate chips and nuts (if using), giving dough final stir to ensure no flour pockets remain.
  4. Divide dough into 16 portions, each about 3 Tbsp. Arrange 2 inches apart on prepared baking sheets, 8 dough balls per sheet.
  5. Bake cookies 1 tray at a time until cookies are golden brown and still puffy, and edges have begun to set but centers are still soft, 10 to 14 minutes, rotating baking sheet halfway through baking. Transfer baking sheet to wire rack; cool cookies completely before serving.

Makes 16 very large cookies.

Browning the butter. As you may have noticed, this recipe is very specific about the details (which to ensure "perfection" I guess you'd have to be). They were very clear about not using a non-stick skillet to brown the butter since you won't really be able judge the color of the butter very well with one. Unfortunately, all I have is a non-stick skillet so I was left with no other option. If you have the option, use a different skillet.
Browned butter. I don't know if you've ever browned butter. I think I've only done it once or twice before this. It's pretty wonderful. The smell is absolutely amazing!!
First whisking.
Last whisking. All that whisking and resting might seem a bit excessive but look at the difference in the dough between the first and the last whisking. Apparently this process helps with the sugar dissolve better into the moisture and produces a deeper flavor and chewier texture (so don't skip it!).
Finished dough. I didn't have quite enough of the chocolate chunks (apparently someone had been stealing them; stinker!) so I added some regular chocolate chips too. I thought the variety would be interesting (especially since they were different brands and would therefore have different chocolate flavors). Speaking of chocolate chips, Cooks Illustrated did a review of chocolate chips: Ghirardelli and Hershey's scored the best (Hershey's is definitely the bargain though because they are often the cheapest brand as well). Who scored the worst? Everyone's standard, Nestle. Who knew?!!
Big ole' dough balls. They are smooth...and huge! They tailored this recipe to this size cookie though, so changing the size will affect the texture.
Big ole' cookies. They smell dreamy and bake up to a lovely, golden brown.
Finished product...Mmmm. These cookies are really, really good. The texture is awesome: crispy on the edges yet chewy throughout. The flavor is phenomenal: buttery and rich with caramel undertones. Seriously, these cookies are outstanding. One might even call them perfect.