Wednesday, March 2, 2011

Lasagna (and noodles)

Lasagna is one of those classic comfort foods that is perfect to pull out on a cold day. Since this winter seems to be stretching on forever, try it out and enjoy!

Homemade Pasta
from Better Homes and Gardens

2 1/3 cups all-purpose flour
1/2 tsp salt
2 beaten eggs
1/3 cup water
1 tsp cooking oil or olive oil

  1. In a large bowl stir together 2 cups of the flour and salt. Make a well in the center of the flour mixture. Ina small bowl combine eggs, water, and oil. Add egg mixture to flour mixture; stir to combine.
  2. Sprinkle a clean kneading surface with the remaining 1/3 cup flour. Turn dough out onto floured surface. Kneading until dough is smooth and elastic (8 to 10 minutes total). Cover and let dough rest for 10 minutes.
  3. Divide the dough into 4 equal portions. On lightly floured kneading surface, roll each dough portion into a 12-inch square (about 1/16-inch thick). Let stand, uncovered, about 20 minutes. If using a pasta machine, pass each portion through machine according to manufacturer's directions until dough is 1/16-inch thick. Let stand; cut as desired.

Makes 1 lb pasta.
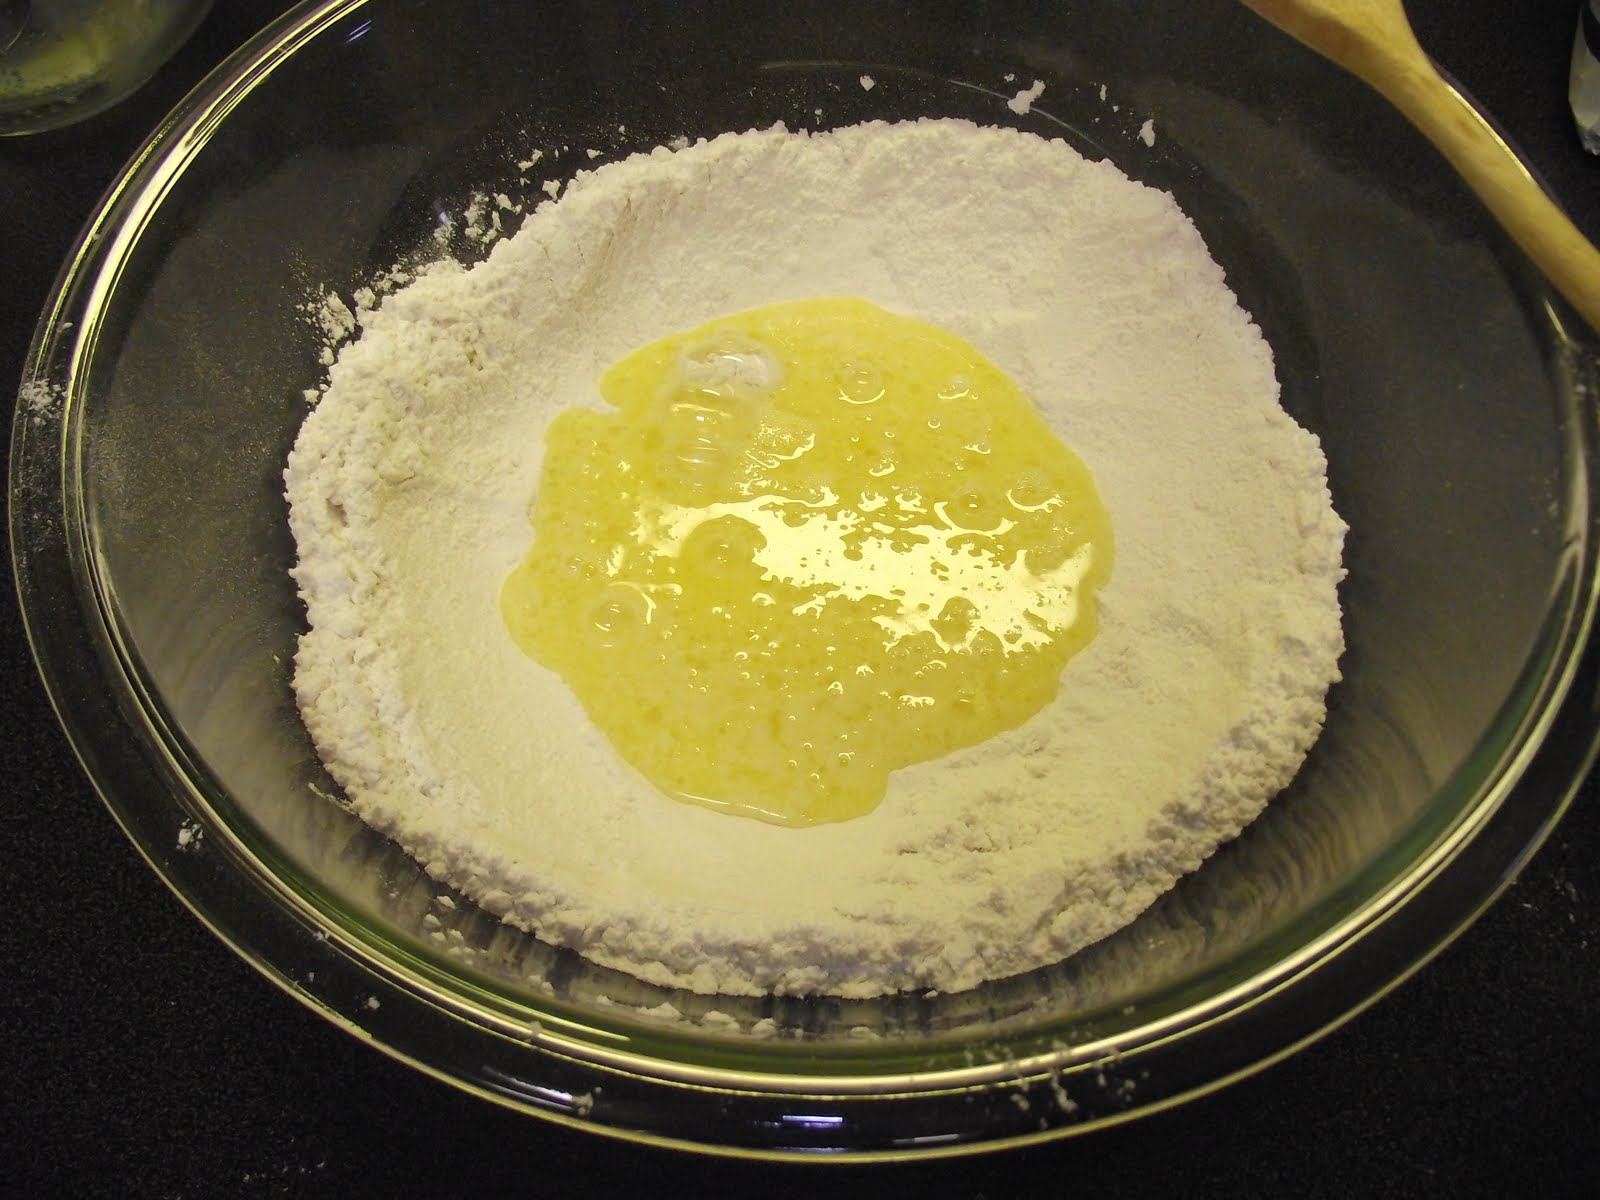
Ready to mix the dough.
Ready to knead the dough.
Kneaded dough.
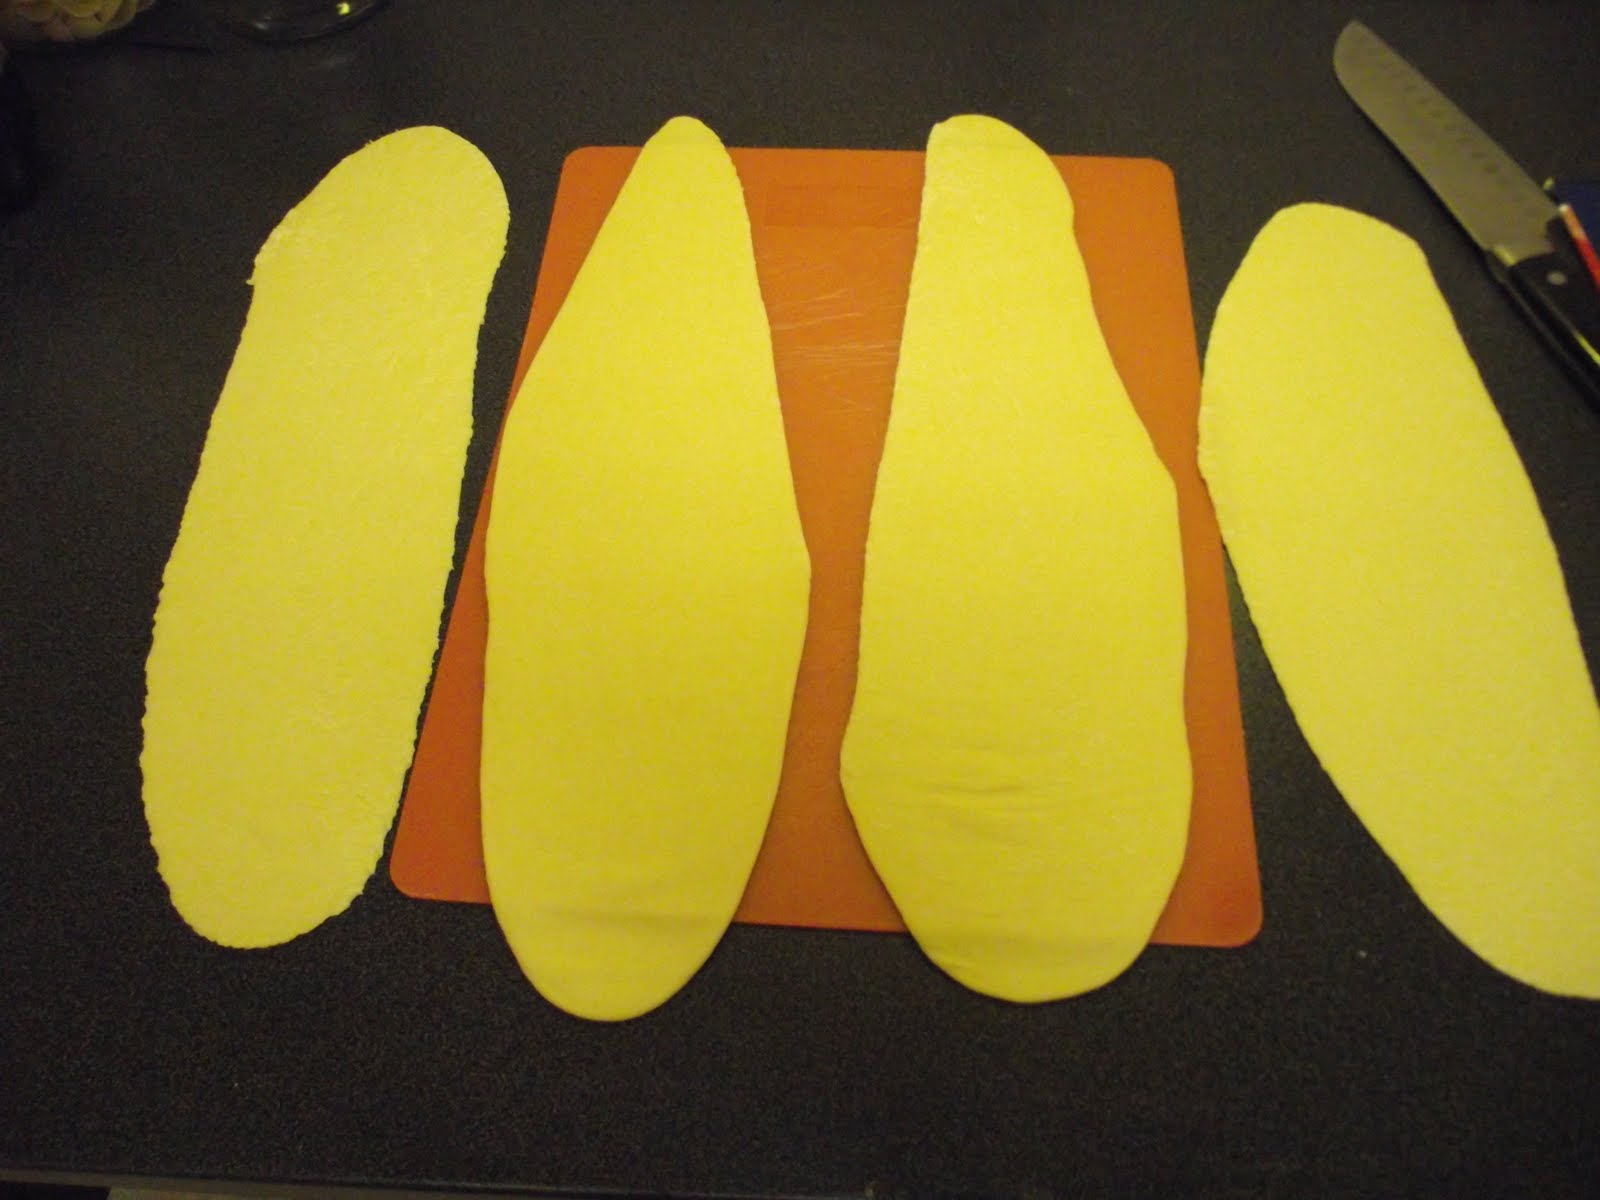
I used my pasta machine. Here are the four portions resting and waiting to be cut up.
I got a pastry cutter for Christmas and this was my first time using it. It made some pretty noodles.
Cooking the noodles.
Lasagna
from Better Homes and Gardens
12 oz bulk Italian sausage or ground beef
1 cup chopped onion (1 large)
2 cloves garlic, minced
1 (14-oz) can diced tomatoes, undrained
1 (8-oz) can tomato sauce
1 Tbsp dried Italian seasoning, crushed
1 tsp fennel seeds, crushed (optional)
1/4 tsp black pepper
6 dried lasagna noodles
1 beaten egg
1 (15-oz) container ricotta cheese (or 2 cups cream-style cottage cheese, drained)
1/4 cup grated Parmesan cheese
6 oz shredded mozzarella cheese
  1. For sauce, in a large saucepan cook sausage, onion, and garlic until meat is brown. Drain.
  2. Stir in undrained tomatoes, tomato sauce, Italian seasoning, fennel seeds, and pepper into meat mixture. Bring to boiling; reduce heat. Simmer, covered, for 15 minutes, stirring occasionally.
  3. Meanwhile cook noodles according to package directions (2 to 3 minutes if using homemade). Drain noodles; rinse with cold water. Drain well; set aside.
  4. For filling, combine egg, ricotta, and the 1/4 cup Parmesan cheese. Set aside.
  5. Spread about 1/2 cup of the sauce over the bottom of a 2-quart baking dish. Layer half of the cooked noodles in the bottom of the dish, trimming or overlapping as necessary to fit. Spread with half of the filling. Top with half of the remaining sauce and half of the mozzarella cheese. Repeat layers. If desired, sprinkle additional Parmesan cheese over top.
  6. Place baking dish on a baking sheet. Bake in a 375 degree oven for 30 to 35 minutes or until heated through. Let stand for 10 minutes before serving.

Makes 8 servings.

Meat mixture.
Meat mixture with sauce.
The noodles stayed a little bent as they cooled. I would probably try to lay them flat if I can't immediately start layering them after they are drained.
The finished product: delicious. I love this recipe for lasagna. I'm sure there are more exotic and fancier lasagna recipes out there but this is certainly a good compromise between the familiar and the fancy. The ricotta is crucial to this recipe (don't switch it out for the cottage cheese). The sauce has a good amount of chunk to add interest and overall it has good flavor. Next time I think I'll roll the noodles out just a little thinner (I'll go to level 3 instead of 4) but that's the great thing about making them yourself: you can cater them to your preferences.

Friday, February 25, 2011

Pumpkin Bars

Pumpkin is good. It's creamy and not-too-sweet. It makes you feel all warm inside. That's why it's so exciting when you see it start filling the shelves in the fall. And that's why I then fill my shelves with it at home. If you're like me, you have a few extra cans of pumpkin laying around (or put away properly if you're not like me). Here's a delicious way to use them up.

Pumpkin Bars
from Better Homes and Gardens

2 cups flour
1 1/2 cups sugar
2 tsp baking powder
2 tsp ground cinnamon
1 tsp baking soda
1/4 tsp salt
1/4 tsp ground cloves
4 eggs, beaten
1 (15-oz) can pumpkin
1 cup cooking oil
cream cheese frosting
  1. Preheat oven to 350 degrees. In a large bowl stir together the flour, sugar, baking powder, cinnamon, soda, salt, and cloves. Stir in eggs, pumpkin, and oil until combined. Spread batter in an ungreased 15x10x1-inch baking pan.
  2. Bake for 25 to 30 minutes or until a wooden toothpick inserted in the center comes out clean. Let stand in pan on a wire rack for 2 hours. Spread with Cream Cheese Frosting. Cut into bars.

Makes 48 bars.

Cream Cheese Frosting

4 oz cream cheese
1/4 cup butter, softened
1 tsp vanilla
2 1/2 to 3 cups powdered sugar
  1. In a medium bowl beat cream cheese, butter, and vanilla with an electric mixer on medium speed until light and fluffy. Gradually add powdered sugar to a frosting of spreading consistency.
I looked back now and saw that the recipe didn't call for me dirtying another bowl to mix together the wet ingredients separately. I'm just going to chalk it up to my newly found baker's instincts. I do such things out of habit now.
The prepared batter. I love the orangeness pumpkin brings to anything it's in. It's pretty and reminds us that life won't always be so white, dull and lifeless (can you tell I'm ready for winter to be over?).
The pumpkin cake cooling.
Frosting before the powder sugar was added. Mmm...it smells nice.
Finished product: classically good. This isn't an astounding new recipe. It's more of an old favorite. It's a classic but a classic is a classic for a reason...mainly because it's good. Each bar is moist and yet still light. The frosting adds just enough decadence without making it heavy or too rich. Enjoy!

Thursday, February 17, 2011

Skillet Tamale Pie

Skillet Tamale Pie
from Rachael Ray

1 Tbsp olive oil
4 cups chicken stock

2 cups whole milk or half-and-half
2 bacon slices, chopped
3/4 lb ground beef
3/4 lb ground pork
1 medium onion, chopped
1 small red or green bell pepper, seeded and chopped
1 jalapeno pepper, seeded and thinly sliced
3 to 4 garlic cloves, chopped
1 Tbsp chili powder
2 tsp ground cumin
pinch of ground cinnamon
salt and black pepper
1 (15-oz) can tomato sauce
2 cups quick-cooking polenta
1 cup shredded Cheddar or Monterey Jack cheese
  1. Preheat the broiler to high and place the oven rack 1 rung beneath the highest level of your oven.
  2. In a large skillet, heat the olive oil over medium-high to high heat. Combine the chicken stock and milk in a pot to bring to a boil over medium heat.
  3. Add bacon to the hot olive oil and cook for 2 minutes or until crisp, then add the ground meats, raise the heat to high, and cook until they are browned, 3 to 4 minutes. Add the onions, bell pepper, jalapeno, and garlic and season with the chili powder, cumin, cinnamon, salt and pepper. Cook for 5 minutes to soften the vegetables, then stir in the tomato sauce and heat through, 1 minute more.
  4. While the meat cooks, whisk the polenta into the simmering stock and milk. Stir for 5 minutes, or until the polenta is thick and masses together in the pot. Use a rubber spatula to spread the polenta over the meat mixture and top with the cheese. Place the skillet under the hot broiler to brown the cheese and set the polenta, about 1 minute. Serve directly from the skillet

Serves 4.Prior to this recipe, I had never tried polenta before. I knew the general idea of it but had never actually eaten it and certainly had never purchased it. I had no idea what to even look for in the store. I wandered around a lot. Just in case one of you might be in the same boat, this is what the polenta I found looks like. I found it in the specialty section of the Italian foods (by the parmesan cheese, etc).

The bacon and ground meats cooking. I ended up using more meat than the recipe called for. I had 1 lb packages of meat and I wasn't going to try to separate out 1/4 lb of each of the meats and save them for a later date. I could have, I guess, but I didn't.
Meats and vegetables. I skipped the jalapeno: one reason being that I'm often nice to my husband and daughter who aren't really fond of spice, and two because I didn't really want to mess with the jalapeno if it would just lead to complaints anyway.
The polenta cooking.
The polenta cooked. It's a little bit grainy and a whole lot creamy, which you would think are opposites but aren't.
The meat mixture. It smelled yummy. I put in maybe a bit more than a pinch of cinnamon (I'm not one hundred percent sure how much that is anyway). The cinnamon sounds like a weird addition to this meal but it's not. It adds an awesome depth of flavor so don't skip it.
The skillets I have all involve handles that would burn/melt in the oven. I heard that you could just wrap that type of handle in foil and put it in the oven (if it's not going to be in there to long). I was still a little bit nervous trying it but the wrapping technique worked just fine.
The finished product: ugly but delicious. This isn't the most beautiful meal ever created but it certainly is tasty. The meat mixture is addictive. The cinnamon is barely recognizable in scent but it combines wonderfully with the spices and peppers. The polenta is creamy, dreamy, wonderful. It mimics the corn tortilla flavor of a regular tamale but with a much more interesting texture. Tyler and Addilyn were okay with this meal (which was kind of surprising to me; Rachael Ray was kidding when she marked this as a "the Kids Will Eat It" meal) and I loved it!

Friday, January 28, 2011

More Asher-Friendly Food

Another allergen-free recipe for my boy.

Spicy Chicken and Rice Bake
from Better Homes and Gardens

2 1/2 to 3 lbs meaty chicken pieces (breast halves, thighs, and drumsticks)
1/2 cup chopped onion (1 medium)
1/2 cup chopped green sweet pepper
2 cloves garlic, minced
1 Tbsp cooking oil
1 15-oz can black beans, rinsed and drained
1 14.5-oz can diced tomatoes, undrained
1 cup tomato juice
1 cup frozen whole kernel corn
2/3 cup uncooked long grain rice
1 tsp chili powder
1/8 to 1/4 tsp ground red pepper
Paprika
  1. Skin chicken; set aside.
  2. In a large saucepan cook onion, sweet pepper, and garlic in hot oil until vegetable are tender. Stir in black beans, undrained tomatoes, tomato juice, corn, uncooked rice, chili powder, red pepper, and 1/2 tsp salt. Bring to boiling. Transfer rice mixture to a 3-qt rectangular baking dish. Arrange chicken pieces on top of rice mixture. Sprinkle chicken with paprika.
  3. Bake, covered, in a 375 degree oven for 45 to 50 minutes or until chicken is no longer pink and rice is tender.

Serves 6.

Vegetables cooking.

The rice mixture. Aside from the rice being uncooked, this tastes really good. I would eat this as a soup. I did cut back on the red pepper a little to make it a bit more kid/Tyler-friendly.
Ready to be covered and put in the oven.I used some boneless, skinless chicken breasts. They were really thick and took longer than the 45 to 50 minutes to cook. It was more in the hour to 1 hour, 15 minute range.
The final product: delicious. There was just a little kick but it was still managable for the kids. Asher seemed to really like the beans and rice mixture (as did I). The chicken also came out really juicy and with a hint of spice as well. You could definitely use smaller chicken pieces to save some cooking time and stretch this meal a bit (there is a ton of rice!). On the whole, it's a satisfying pairing.

Monday, January 24, 2011

Chicken and Bacon...in a Soup!!

I'm really into the bacon-based soups. Here's another bacon soup but this one has chicken too. You can never go wrong with chicken and bacon. Mmm!

Hunter's Chicken Stoup with Whole-Wheat Pasta
from Rachael Ray

1 lb whole-wheat short pasta (gemelli or penne)
6 Tbsp olive oil
4 (1/4-inch-thick) slices pancetta, chopped
2 pounds boneless, skinless chicken thighs, cut into large bite-sized pieces
salt and pepper
6 portobello mushroom caps, cut into bite-sized dice
1 large onion, chopped
1 carrot, peeled and grated
1 fresh or dried bay leaf
1 tsp red pepper flakes
4 garlic cloves, grated or finely chopped
4 fresh rosemary sprigs, finely chopped
1 cup dry red wine
2 cups chicken stock
1 (28-oz) can crushed fire-roasted tomatoes
2 Tbsp butter, cut into pieces
1 cup grated or shredded Parmigiano-Reggiano cheese
  1. Bring a large pot of water to a boil. Salt it liberally, add the pasta and cook al dente.
  2. While the water heats and the pasta cooks, make the stoup. Heat a deep skillet over medium-high heat with 3 Tbsp olive oil. Add the pancetta and cook for a couple of minutes to crisp it up, then remove it to a plate. Add the chicken and season with salt and pepper. Brown the chicken for 10 minutes then transfer it to the plate with the pancetta. Add the remaining 3 Tbsp of oil and heat. When it's hot, add the mushrooms and soften them up for 3 to 4 minutes. Stir in the onions, carrot, bay leaf, red pepper flakes, garlic and rosemary, and season with salt and pepper. Cook until the mushrooms are dark and the onions are tender, another 6 to 8 minutes. Add the wine and deglaze the pan, stirring up any bits from the bottom, then stir in the stock and tomatoes. Slide the chicken and pancetta back into the pan. Discard the bay leaf.
  3. Just before the pasta is done, add 2 ladles of the starchy pasta water to the skillet with the chicken. Drain the pasta and return it to the hot pot. Add the butter, a couple of ladles of the stoup, and the cheese. Toss to combine.
  4. Serve shallow bowls of pasta and top with ladles of the chicken and mushroom stoup to be mixed together.

I'm too cheap to buy pancetta on any regular basis so I substituted bacon. Bacon and olive oil smell heavenly. I also misread the recipe while gathering supplies and bought bone-in chicken thighs. Oops! It upped the preparation time since I had to debone the chicken before cutting it up but didn't effect the overall product. I also didn't have portobello mushrooms but I did have some button mushrooms left over from a previous recipe. Those seem to work well. All the veggies cooking. It smelled pretty good. (I subbed dried rosemary for the fresh and just eyeballed the amount.) The "stoup" (stew + soup). It was almost too much for my skillet! I looked everywhere for the can of crushed fire-roasted tomatoes. I was certain I had seen it somewhere before so I went to almost every store in my area. I didn't find it but I was able to substitute a couple of cans of fire-roasted diced tomatoes. I was going to crush them myself but forgot. I also used the cooking wine that can be found next to the vinegars. I know that some cooks would yell at me for not using the real thing (apparently it's not the same quality) but I'm still too frightened/intimidated of a liquor store and wine in general to buy the real stuff. The final product was warm and hearty. I was able to make a couple more adjustments (brown-rice pasta and omitting the butter and cheese) to make it allergen-free for Asher. The pictured version is actually what Asher and I ate. I made the regular for Tyler and Addilyn and all agreed that it was pretty delicious. I was able to recognize the wine flavor but didn't find it overpowering. The pasta was also pretty good by itself warmed up as leftovers.

Wednesday, January 12, 2011

Italian Pork and Beans

This is the first post since the Friday before my son was born. Yay for having my head above water for the first time in quite a while!

Here's a super yummy recipe that just so happens to be allergen-free. That means that Asher could eat it. Now if we can only get this almost-2-year-old to try it. Silly boy.

Rachael Ray's Italian Pork and Beans

3 Tbsp olive oil
1/3 pound pancetta, cut into 1/4-inch dice
1 medium onion, finely chopped
1 carrot, peeled and grated
2 celery ribs with leafy tops, finely chopped
2 to 3 garlic cloves, chopped
1 fresh or dried bay leaf
2 (15 oz) cans white bean, drained
salt and black pepper
1 cup chicken stock
2 cups tomato sauce

Heat the olive oil in a deep skillet over medium-high heat. Add the pancetta and cook for 5 minutes or until crisp. Add the onions, carrot, celery, garlic, and bay leaf and cook for 5 minutes more. Add the white beans and season liberally with salt and pepper, then stir in the stock and tomato sauce and cook until heated through, 2 to 3 minutes. Remove the bay leaf and serve the pork and beans in shallow bowls with crusty bread for mopping.
I didn't have pancetta but I did have a lot of bacon. Mmm...bacon. That'll work.
The bacon and vegetables cooking. It smelled divine.
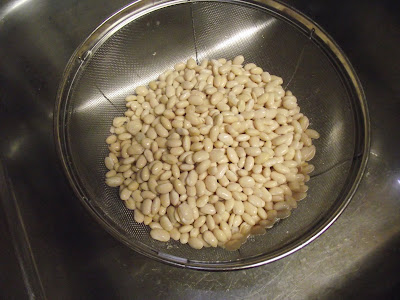
I have a whole lot of dry beans in my pantry but have yet to do anything with them. This was my first attempt. I soaked the beans.
It was shortly after I had added them to the vegetables that I realized that soaked dry bean are not the same as canned beans. Oops!
That wasn't too big of a problem though. I just simmered the entire mixture for an hour and a half. The resulting product was really, really good. I've had it for lunches for the last three days in a row and if I had more, I'm sure I would continue eating it for days. The flavors are strong but delightful. This is one comfort food that I most definitely recommend.

Friday, October 15, 2010

French Silk Pie

Pie has always been a scary thing for me. Actually it wasn't the pie that was so scary, it was the pie crust that really intimidated me. I've tried a few times to make pie crust and had things go horribly awry. In an effort to address my fears and in hopes of powering through, I decided to make a couple of pies. This is the first of my most recent attempts.

All-Butter Pie Crust
from Tasty Kitchen

2 cups flour
11 Tbsp butter
1/4 tsp salt
1/4 cups ice water
  1. Measure flour and salt into a bowl. Cut the cold butter into small chunks and throw on top of the flour. Cut the butter into the flour until butter is in small crumbly pieces. Add ice water a tablespoon at a time while stirring the dough mixture with a fork until it comes together easily but isn't sticky. Bring it all together and pat into a ball. Wrap in plastic and put in the fridge.
  2. When you are ready to roll out your pie crust, lightly flour your work surface. Handle the dough as little as possible; the less you touch it, the more tender and flaky it will be. Starting in the center, roll the dough out into a circle, about 1/8" thick. When you've reached your desired thickness, place the rolling pin in the middle and gently fold the crust over the rolling pin. Lift the dough onto your pie plate and unfold it.
  3. If you need to pre-bake the crust, prick the bottom of the crust with a fork and bake at 450F for 10-12 minutes or until golden brown.
Ingredients:
Butter ready to be cut into the flour.
The dough after the addition of the 1/4 of water. It was still really crumbly at this point and I added the entire 1/4 cup (which the recipe writer said that I probably wouldn't need all of).
In light of my previous pie crust failures, I decided to go against my instincts and trust the recipe. I got the dough to sort-of stick together long enough to get it wrapped in plastic and stuck in the fridge, hoping that it would become more of a dough consistency overnight.
My wishful thinking proved foolish. In the morning, I unwrapped the dough ball and it immediately crumbled. In my frustration, I added more water...which resulted in being too much water. Then I added some more flour. This is my final product of dough, all rolled out. It ended up being really thick but I had trouble getting it to roll out any more than this.
Aside from being pretty thick, the transfer to the pie pan went well and the dough looked good.
The final pie crust baked and ready to be filled. I'm going to go ahead and review the crust now. This wasn't great. It was super-hard, like difficult to even cut. The flavor was good though. It was so hard though, that it really detracted from the overall pie. That's sad because the filling is awesome.
French Silk Chocolate Pie
by Cook's Country
1 cup heavy whipping cream, chilled
3 large eggs
3/4 cup sugar
2 Tbsp water
8 oz bittersweet chocolate, melted and cooled
1 Tbsp vanilla
8 Tbsp unsalted butter, cut into 1/2-inch pieces and softened
  1. With electric mixer on medium-high speed, whip cream to stiff peaks, 2-3 minutes. Transfer to small bowl and refrigerate.
  2. Combine eggs, sugar and water in a large heatproof bowl set over a medium saucepan filled with 1/2 inch barely simmering water. With electric mixer on medium speed, beat until egg mixture is thickened and registers 160F, 7-10 minutes. Remove bowl from heat and continue to beat egg mixture until fluffy and cooled to room temperature, about 8 minutes.
  3. Add chocolate and vanilla to cool egg mixture and beat until incorporated. Beat in butter, a few pieces at a time, until well combined. Using spatula, fold in whipped cream until no streaks of white remain. Scrape filling into pie shell and refrigerate until set, at least 3 hours and up to 24 hours.
Filling ingredients:
Melted chocolate. So shiny.
Beating the eggs in the poor-man's double boiler.
The bowl I used was almost too small for this. The egg mixture grew quite a bit and I was pretty worried at one point that it would outgrow this bowl. It hadn't by the time I stopped. I was never quite able to get it up to the 160F point and I mixed for quite a bit longer than the 7-10 minutes touted in the recipe.
After standing there with the electric mixer at the stove for at least 15 minutes, I decided to switch to the standing mixer. It was a much needed break for my arm.
The filling after adding the chocolate, vanilla, butter and whipped cream. It's super creamy.
The final product: the filling is rich and creamy and very chocolatey. It really is quite good. It's much better than any other French Silk I've tried and that's mostly due to its intense chocolate taste and incredibly creamy texture. I don't know if it's the butter or the whipped cream (or the combination of the two) that makes this so creamy and dreamy, but whatever it is works wonderfully. I would recommend cutting this in at least 10 pieces (as opposed to 6-8) as it is fairly rich. Even though it's a bit more complex than others, I think this will be my go-to chocolate pie recipe (my husband really likes chocolate pies). I plan to use it often in the future...if I can make a decent pie crust, that is.